How is a force-displacement measurement performed?
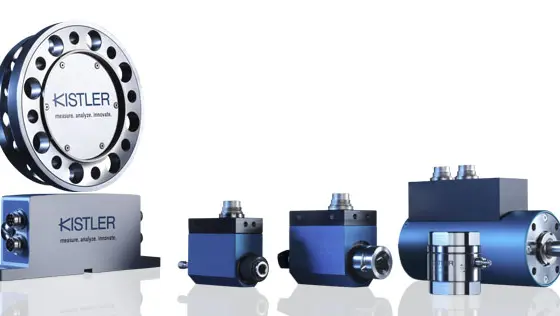
Special force and torque sensors, as well as displacement transducers, acquire the relevant measurands, which are then forwarded to a monitoring unit to generate a force-displacement curve. Piezoelectric measurement technology is particularly suitable for capturing dynamic profiles of this sort. The curves provide exact information about whether connections are executed correctly, in compliance with the specified values. The evaluation result makes it possible to state whether a connection is “OK” or “Not OK” so bad parts can be separated for reworking.
For example, mutually dependent measurands such as press-in force and displacement are recorded during the press-fit step of the assembly process, and their functional relationship is evaluated.
Force measurements also help to protect machinery and individual workpieces against overloading. For instance, force thresholds allow monitoring of the maximum pressing force. Pressing forces can be measured either directly in the force flux or indirectly via strains in the machine structure. Torque sensors and XY monitors can monitor and record the specific torque curve during the fastening process. This solution protects threaded joints against overloading and prior damage. The benefits: improved operational reliability and quality of the assembled products.
What are the key benefits of monitoring force, displacement, and torque during production?
Quality and precision standards in industrial manufacturing are increasing, and competition is becoming even fiercer – so it’s essential to optimize and monitor the entire production chain.
Integrated process monitoring – which means verification during each individual step of the process – has proven to be the most cost-effective quality assurance solution to implement a zero-defect strategy.
Deviations can be detected immediately so prompt and targeted action can be taken to correct the problem. Quality defects are identified at an early stage, and costly additional assembly steps are avoided. Faulty parts can be separated out immediately and reworked as required. Cutting-edge process monitoring systems such as maXYmos from Kistler correlate all measurands acquired via the Y channel (from force, torque or pressure sensors) and the X channel (from displacement or rotation angle sensors).
- Continuous process monitoring
- Process parameter trend tracking
- Prompt response to deviations
- End-to-end documentation
- Part-specific traceability of process
Quality assurance during product testing
Even though upstream tests during production and assembly can largely exclude defects in the end product, it is still essential to monitor the processes of joining and assembling individual components to create an end product. In the automotive industry and the aircraft construction or Medtech sectors (to name only a few), quality is actually a matter of life and death – which is why it is governed by strict standards such as ISO/TS 16949. In these cases, the only solution is to integrate monitoring systems into the production process. In this way, many measurands can be used as criteria to assess quality: examples include contact forces in plug-and-receptacle connectors, actuating forces for pressure switches, pushbuttons, ignition, and rotary switches or screw-on caps, and also torque curves for transmissions and engines.
Which variables are verified with force-displacement measurements to ensure product quality?
Quality inspection tasks can include verification of:
- Spring forces
- Contact forces
- Connector insertion forces
- Torque
- Tactile behavior


