What are the benefits of optical measuring systems?
Optical measurement processes are acknowledged to be very precise and fast – response times are short because measurement and digital transmission take place almost in real-time. These processes are suitable for accomplishing very complex and critical measuring tasks. Optical measurement processes can be used in many applications; one of their key advantages is that they are contact-free and therefore non-destructive – in other words, there can be no damage to the surface of the component.
Summary of universal advantages of optical measuring systems
- Contact-free measurements
- Non-destructive and wear-free measurements
- Very fast measuring speeds
- Suitable for all materials
- Inspection of surfaces and three-dimensional objects
Where are optical measurement methods used?
Optical measurement technology is suitable for a wide variety of applications: examples range from quality assurance in the manufacturing industry to speed limit enforcement for increased road traffic safety. A combination of optical and tactile measurement technologies opens up extensive scope for innovative developments. In the automotive industry, the spectrum includes full-vehicle measurements as well as cylinder pressure measurements.
Optical measurement technology for quality assurance in series production
100 percent monitoring with end-to-end traceability has become an essential tool to meet ever-increasing quality demands in the manufacturing industry. Some manufacturing environments even require surface quality inspections in the nanometer range. Various high-speed light-measuring methods are available, depending on the surface quality of the test objects.
These methods are suitable for inspecting matte (diffuse) surfaces:
- Triangulation systems (utilizing laser technology)
- Structured light projection systems
- Stereoscopy
These methods are suitable for inspecting shiny surfaces:
- Deflectometry (this method can be used to scan a whole vehicle)
- Interferometry
Optical measurement technology to monitor speed
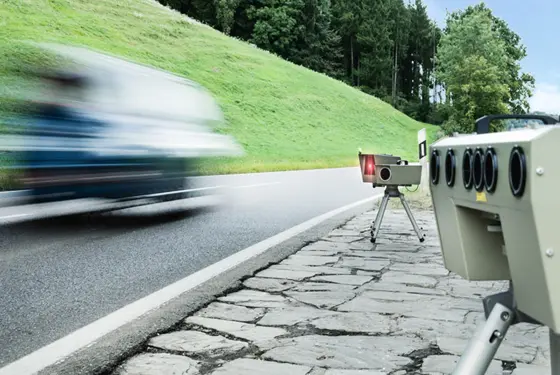
Light-barrier measuring instruments provide an exceptionally fast and accurate way of measuring vehicle speeds. Multiple light sensors are arranged behind one another to generate several light barriers. As soon as a driver passes through a light barrier, the measuring instrument detects the vehicle and the driving speed is determined by means of a displacement-time calculation. If the speed limit is exceeded, at least one digital camera (depending on the system) is triggered automatically to capture an image.
Combination of tactile and optical measurement technologies for engine development
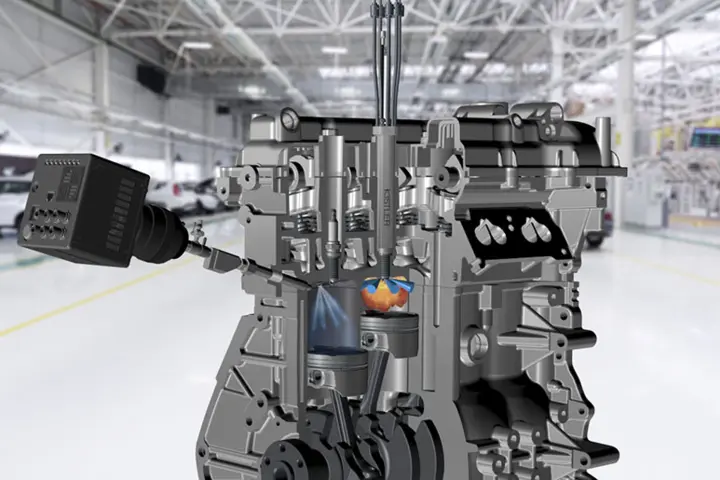
The following example of an innovative measuring spark plug shows how the advantages of tactile and optical measurement technologies can be combined to generate added value in engine development.
By integrating a high-temperature miniature pressure sensor and fiber-optic probes into a normal measuring spark plug, the conventional cylinder pressure measurement can be linked to visualization of the processes in the combustion chamber. In the “optical windowˮ function, the probes are aligned in different directions to capture different areas of the combustion chamber. Optical waveguides transmit the light signals from the flame radiation directly to the indication system, where the combustion processes are visualized in graphic form. With the help of the curve profiles and by including the time sequence and intensity of the flame formation, certain phenomena such as knocking, soot formation, and preignition can be identified. The cylinder pressure is measured simultaneously. Evaluating all the measurement values makes it possible to gain more holistic insights into the actual combustion processes.


